| Name |
|---|
| Abdelrahman Khaled Isamail |
| Mostafa Medhat Hakim |
| Mohab Hesham Ahmed |
| Hesham Gamal Abdelhady |
- src\index.js
- public\index.html
- public\styles.css
- public\usethis.jpeg
- The main idea of the project was to understand how VTK.js work and how to use it.
- First of all we installed node.js, react, yarn.
- Then we started running some examples from the VTK.js website and here are some screenshots:


- Then we got the idea of how mappers and actors work to produce our scene.
- At first this code was like a puzzle to us but we managed to understand it quite better.
const actor = vtkVolume.newInstance();
const mapper = vtkVolumeMapper.newInstance();
actor.setMapper(mapper);
- We found that there are two types of actors (volume actor,normal actor), and two types of mappers (volume mapper, normal mapper).
const actor = vtkVolume.newInstance();
const mapper = vtkVolumeMapper.newInstance();

const isoActor = vtkActor.newInstance();
const isoMapper = vtkMapper.newInstance();

actor.setMapper(mapper);
isoActor.setMapper(isoMapper);
- the volume actor and mapper are used for the cropping and gaussian widgets, but the normal actor and mapper are used for the isoValue (marching cubes).
- so we got that we can put cropping and gaussian widgets together using widget manager in the same mapper hence the same actor.
const widgetManager = vtkWidgetManager.newInstance();
widgetManager.setRenderer(renderer);

const widget = vtkImageCroppingWidget.newInstance();
const widget2 = vtkPiecewiseGaussianWidget.newInstance({
  numberOfBins: 256,
  size: [400, 150],
});
- then we uderstood how to read data and give it to the mapper.
reader.setUrl(CHEST,{loadData:true});
- then we made two functions one for the cropping and gaussian widgets and one for the isoValue(marching cubes).
function cropplan(){
  cropControl.style.visibility='visible';
  const value = !!cropControl.querySelector('.noguss').checked;

  gausseanChange(value);

    const image = reader.getOutputData();
    const dataArray = image.getPointData().getScalars();
    const dataRange = dataArray.getRange();
    globalDataRange[0] = dataRange[0];
    globalDataRange[1] = dataRange[1];

    // Update Lookup table
    changePreset();

    // Automatic switch to next preset every 5s

    widget2.setDataArray(dataArray.getData());
    widget2.applyOpacity(piecewiseFunction);

    widget2.setColorTransferFunction(lookupTable);
    lookupTable.onModified(() => {
      widget2.render();
      renderWindow.render();
    });
    // update crop widget
    widget.copyImageDataDescription(image);
    const cropState = widget.getWidgetState().getCroppingPlanes();
    cropState.onModified(() => {
      const planes = getCroppingPlanes(image, cropState.getPlanes());
      mapper.removeAllClippingPlanes();
      planes.forEach((plane) => {
        mapper.addClippingPlane(plane);
      });
      mapper.modified();
    });

    isoActor.setVisibility(false);
    actor.setVisibility(true);
    widget.setVisibility(true);
    renderer.resetCamera();

    renderer.resetCameraClippingRange();
    widgetRegistration();
    renderWindow.render();

}
function runIso() {
  const data = reader.getOutputData();
  const dataRange = data.getPointData().getScalars().getRange();
  const firstIsoValue = (dataRange[0] + dataRange[1]) / 3;

  const el = document.querySelector('.isoValue');
  el.setAttribute('min', dataRange[0]);
  el.setAttribute('max', dataRange[1]);
  el.setAttribute('value', firstIsoValue);
  el.addEventListener('input', updateIsoValue);

  marchingCube.setContourValue(firstIsoValue);


  renderer.resetCamera();
  renderWindow.render();

}
- At first we were clearing all the actors and mappers and declare them again which was very time consuming but after consulting with the TA, the problem was solved by hiding and showing the actors and mappers instead of removing them.
- then we assigned buttons to toggel between two volumes (head,chest).

-
then we started to add some controlles to control the scene like:
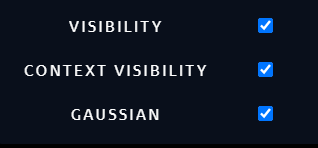
- Cropping widget controls:
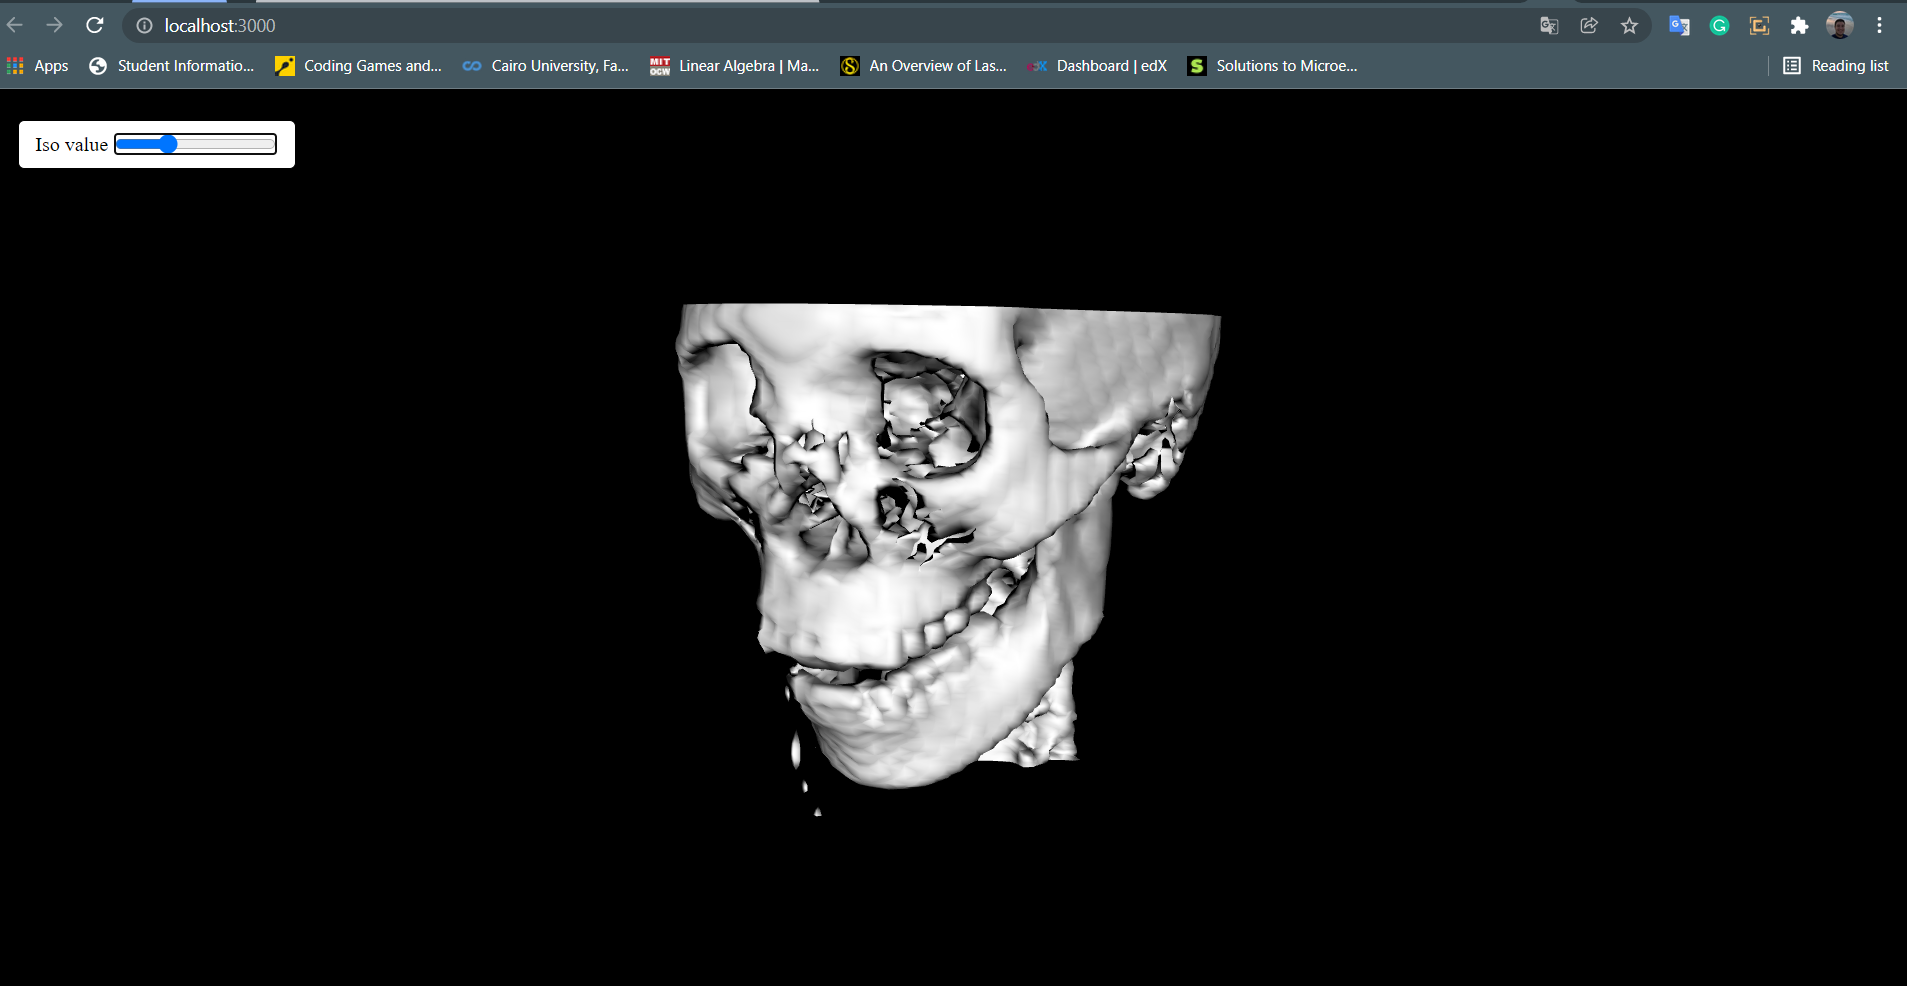
- Iso value control:

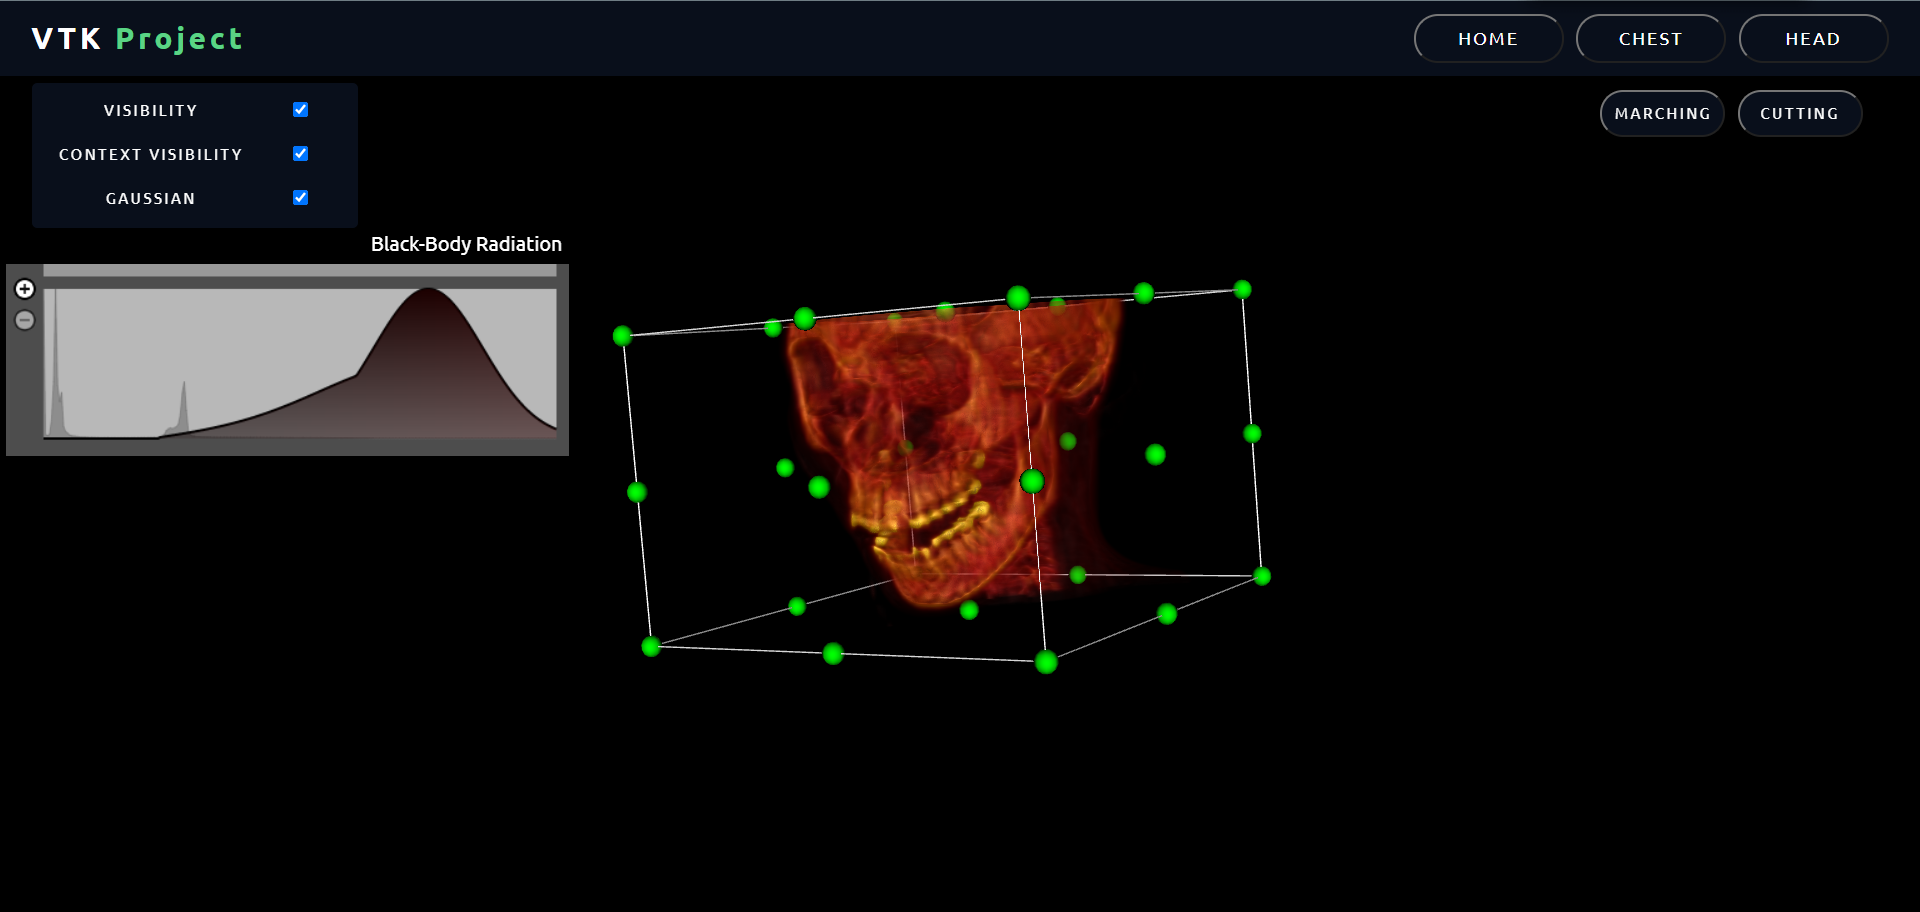
- Gaussian controls:

-
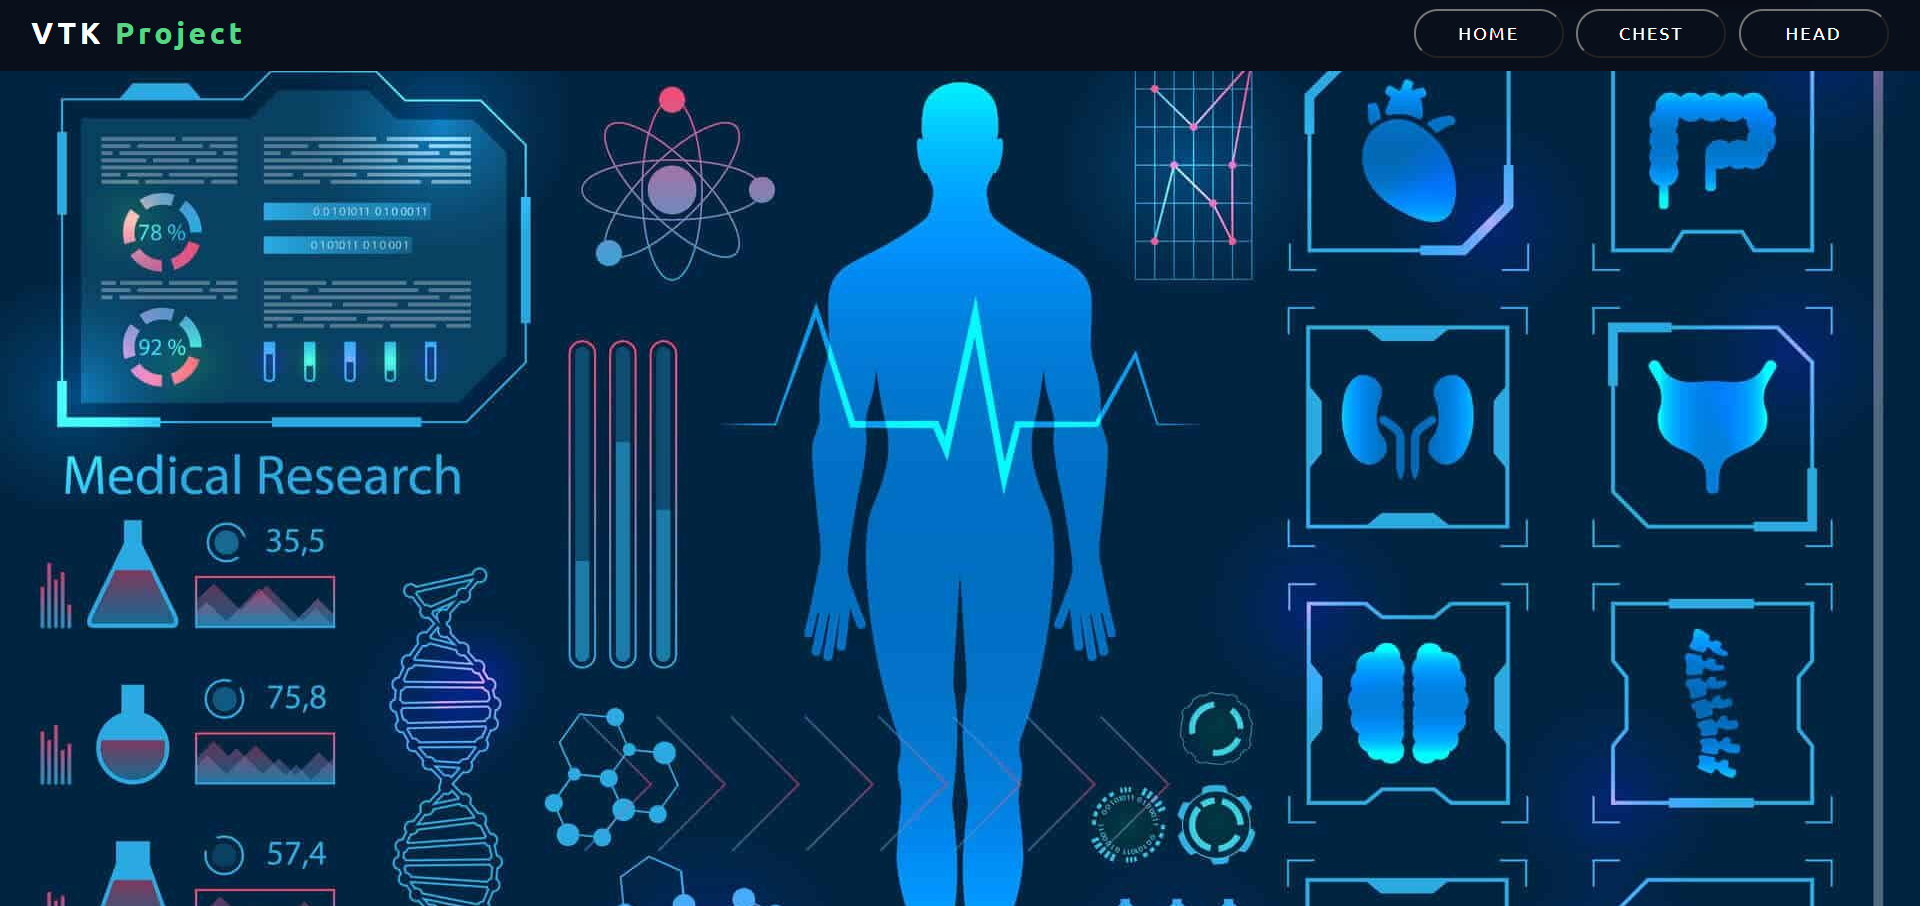
Then we started to design our website:
- home screen:
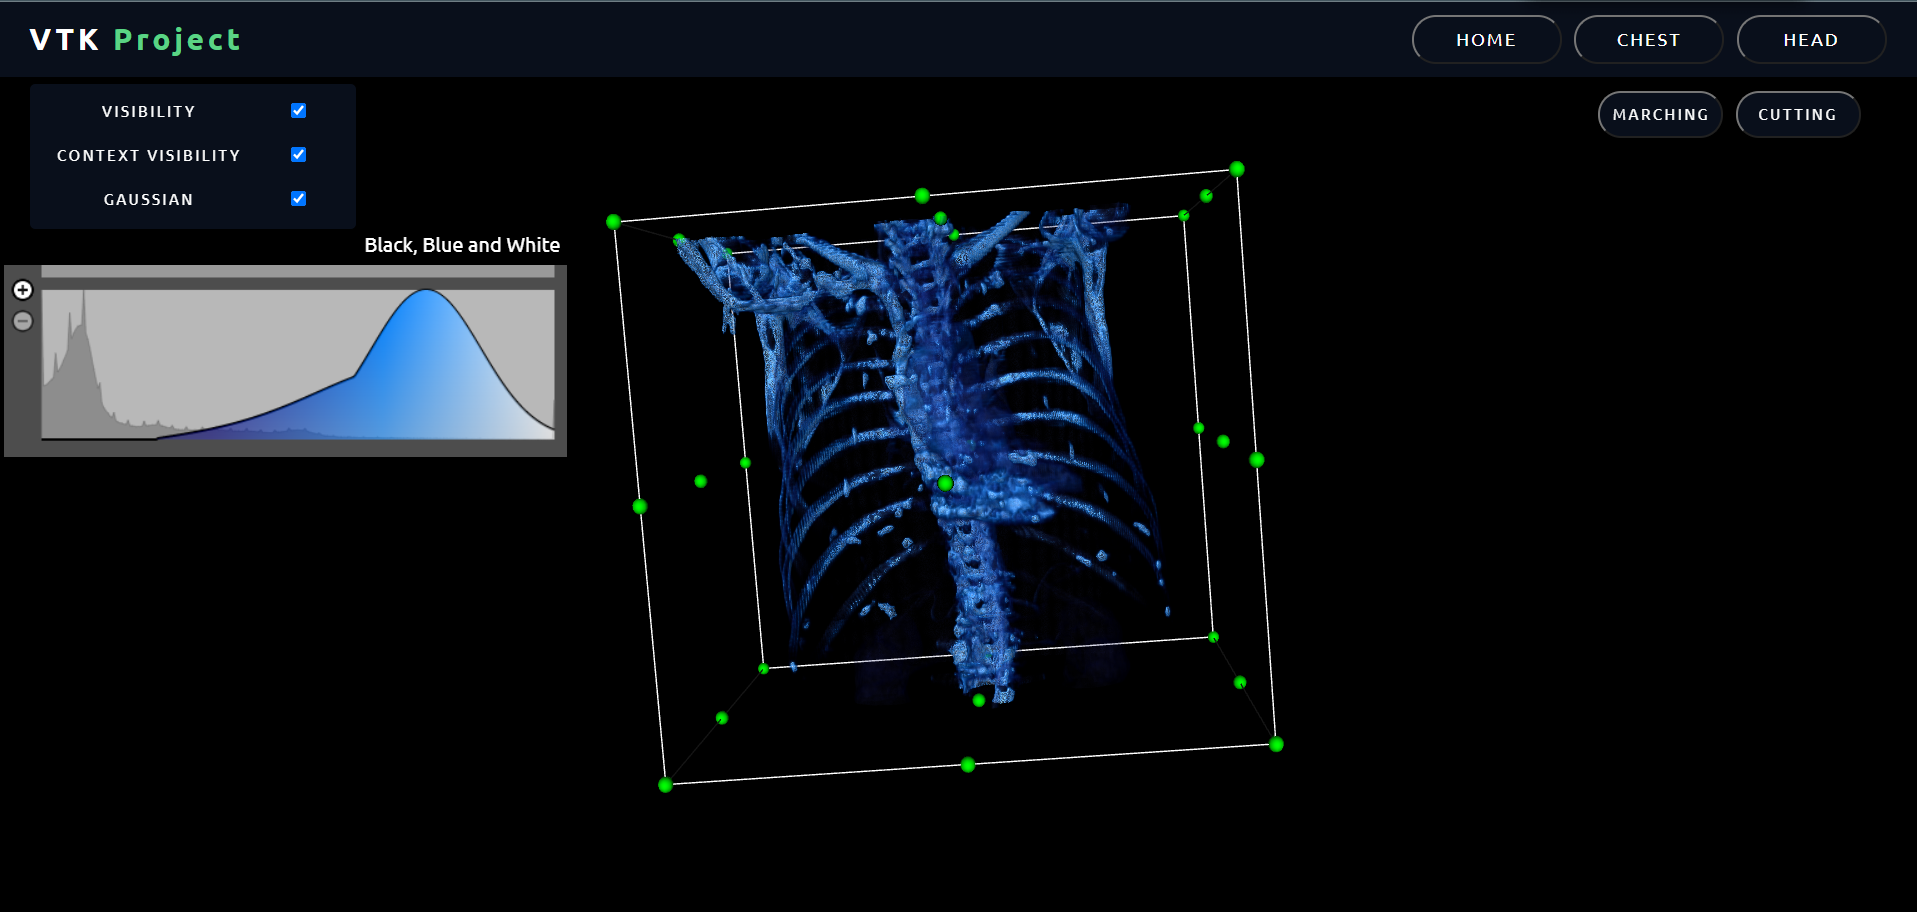
- Chest workspace:
- Head workspace:
- In terms of style, we tried to choose a convenient one to our project and we managed to emped the css file , html file and js file using some resorces from the internet.
- it was hard to understand VTK and modify the examples to match the requirements of the project.
- it was hard to understand HTML , Css and js for the first time, which took us most of the time.
- Sometimes when running the code there are no errors shown but the website doesn't work so we had to trace all the code back multible times.
- we tried to load the head and chest data one single time to make the website faster, but we couldn't.
- when we switch between head and chest, some parts of the volume doesn't show properly but when we adjust the cutting widget, every thing works fine.
-
the project had a lot of advantages to us as students as well as engineers like time mangaments, self learning , html+css+js+vtk+react concepts ..etc
-
when we settle down and look back to our journey with this task, we supposed that it would be much easier . but we found that it is a real challenge .but we managed to make some progress, week by week and day after day . And it was amazing feeling that we achieved good results eventually.