- Admin privileges obtained
- PIV card configured (see SSH config setup)
- MacFuse installed
- SSHFS installed via Self Service
- SSH config updated
- tunnel_cluster.py in $HOME/bin
- Aliases added to .zshenv
- Volumes directory created
- Tunnel tested
- Mount tested
- VSCode configured (see Tips)
\
Mac-centric instructions for using an Integrated Development Environment (IDE) such as VSCode on an HPC platform like Orion
Running an IDE over SSH is not likely to provide a satisfactory user experience due to cross network lag. Instead the files of the projects you wish to work on need to be mounted on your local machine so the software can run locally.
Always practice good IT security, for example using a VPN.
- An IDE such as Visual Studio Code.
- Python. This is likely most easily achieved using Miniconda.
- For mounting drives you need SSHFS (From Self Service) and MacFuse https://osxfuse.github.io/ . This requires admin privilege on your machine. Later when you try to use MacFuse you might have to go in system preferences and 'trust the software developer' (requires restart).
Clone this repo to e.g. your $HOME directory:
cd $HOME
git clone https://github.com/cohen-seth/dotfiles/tree/main
Copy the file bin/tunnel_cluster.py to your own $HOME/bin directory and make sure that $HOME/bin is in your path. In zsh this can be done with export PATH=$HOME/bin:$PATH. Note that this repo contains a zshenv file with examples.
This Python script is useful for managing your tunnels, it allows you to create a tunnel to a specific platform, check on existing tunnels, and remove tunnels.
Before you can establish a tunnel to your favorite HPC machine you need to put the appropriate directives into your $HOME/.ssh/config file. There is an example of this file in the repo. The lines that are needed are, e.g.,:
Host {{machine}}
    ProxyCommand ssh host-PIV direct {{machine}}.{{host}}
    User {{user}}

Host host-PIV
    HostName login.{{host}}
    PKCS11Provider /usr/lib/ssh-keychain.dylib

Host *
    ControlPath ~/.ssh/master-%r@%h:%p
    ControlMaster no
    LogLevel Quiet
    Protocol 2
    ServerAliveInterval 900
Example:
Host discover
ProxyCommand ssh nccs-PIV direct discover-mil.nccs.nasa.gov
User sicohen
ServerAliveInterval 30
Host nccs-PIV
HostName login.nccs.nasa.gov
PKCS11Provider /usr/lib/ssh-keychain.dylibNote that terms in double curly braces {{}} are to be replaced with the actual information for the machine being accessed. Note also that the above is needed when there is a gateway to the machine. For example you login to that gateway then make the selection of the machine you want. If no gateway exists then direct can be omitted.
Now you are ready to try and create a tunnel. Place directives, similar to the following, into you $HOME/.zshenv or equivalent file:
alias  {{machine}}='ssh -XY {{machine}}'
alias  ctunnel{{machine}}='python3 $HOME/bin/tunnel_cluster.py -m {{machine}}'
alias  ktunnel{{machine}}='python3 $HOME/bin/tunnel_cluster.py -m {{machine}} -k'
alias  ltunnel{{machine}}='python3 $HOME/bin/tunnel_cluster.py -m {{machine}} -l'
Note that these are shortcuts providing access to the tunnel_cluster code that you put in the bin directory.
Try to create a tunnel to {{machine}} using ctunnel{{machine}}. To check that the tunnel is active open a new tab or window of the Terminal and simply type {{machine}}. This should open another connection without prompting you for a password.
Once you have MacFuse installed you can try to mount a drive using your newly established tunnel. Add the following shortcuts to $HOME/.zshenv:
alias  mountremotedrive='sshfs {{machine}}:/{{remote_path}}/ $HOME/Volumes/remotedrive'
alias  umountremotedrive='diskutil unmountDisk force $HOME/Volumes/remotedrive'
Example:
#-----------------------------------------------------------
# Tunnel (to discover)
#-----------------------------------------------------------
alias pivssh='ssh -A -o PKCS11Provider=/usr/lib/ssh-keychain.dylib'
alias ctunneldisc='python3 /Users/sicohen/bin/tcluster.py -m discover'
alias ltunneldisc='python3 /Users/sicohen/bin/tcluster.py -m discover -l'
alias ktunneldisc='python3 /Users/sicohen/bin/tcluster.py -m discover -k'
#-----------------------------------------------------------
# Mount
#-----------------------------------------------------------
alias mountnobackup='sshfs discover:/discover/nobackup/sicohen/ $HOME/Volumes/nobackup'
alias unmountnobackup='diskutil unmountDisk force $HOME/Volumes/nobackup'Now create a directory where the mount will appear:
mkdir -p $HOME/Volumes/remotedriveTry to mount the drive with mountremotedrive.
Now you should be ready to connect your IDE to your entire drive or projects that live on that drive.
- When your connection fails it can cause trouble for the mounted drive and your IDE that is accessing those files. As such you should not kill your tunnel before unmounting the drive.
- If experiencing lag you can try turning off communication with GitHub by the IDE. It might be trying to read a lot of files on the mounted drive.
Before proceeding you must request admin privledges by contacting the SysAdmins at sysadmin@gmao.gsfc.nasa.gov or on Teams
\
- You should open the instructions on a separate device and/or take photos to refer to later on.
- Download MacFuse - https://osxfuse.github.io/
-
You will need admin privileges for this.
-
Partway, through you will need to restart your computer so save all work.
-
Run the installer
-
After restarting you may need to be granted admin privileges if they get reset by the restart.
-
Source of these original instructions: - https://github.com/macfuse/macfuse/wiki/Getting-Started
-
On Apple Silicon Macs the following prompt will be displayed when trying to load a kernel extension for the first time.

Click on the "Open System Settings" button. This will open the Privacy & Security settings.
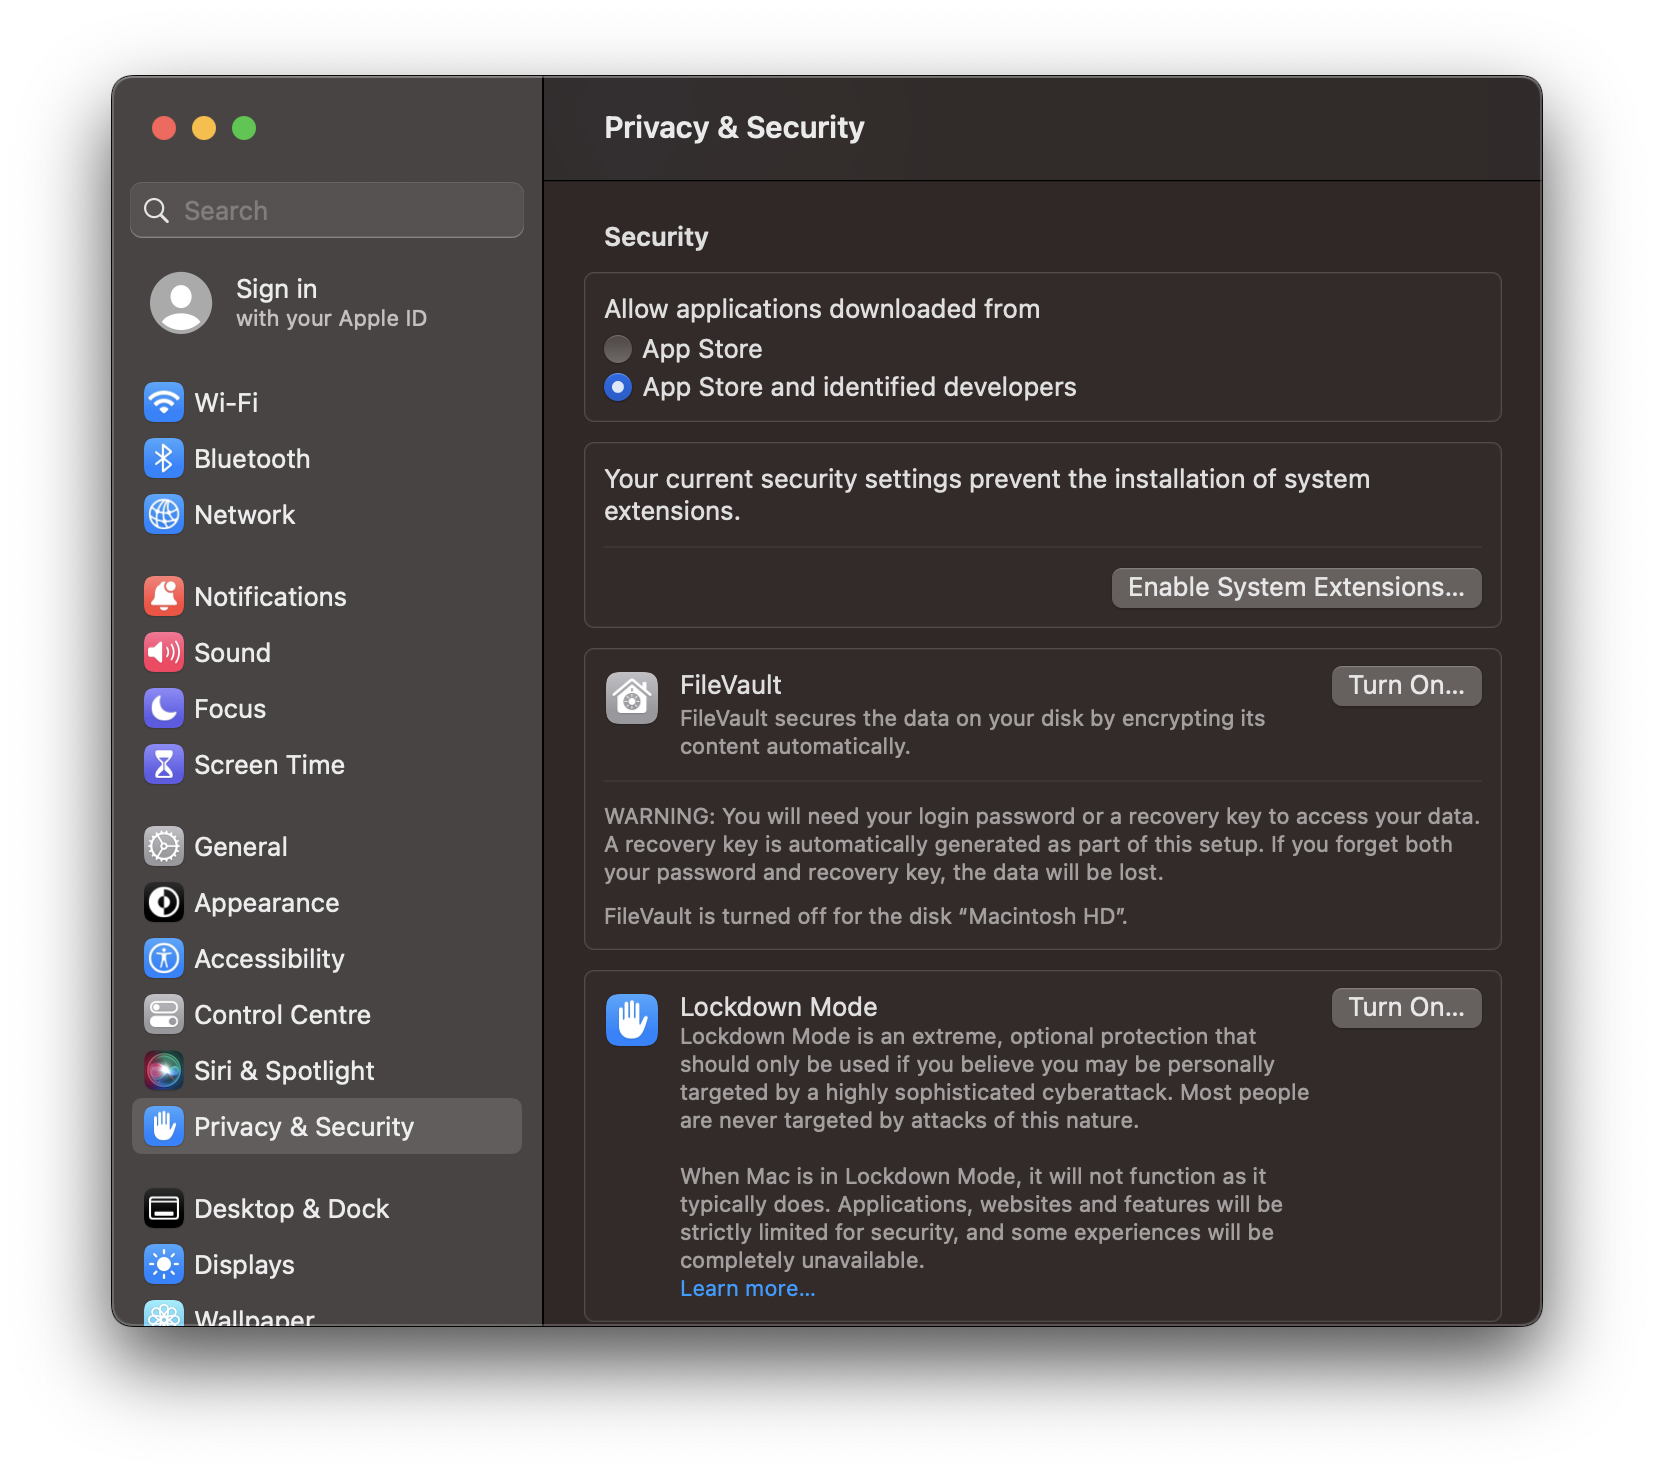
By default, third-party kernel extensions are disabled on Apple Silicon Macs. Click on the "Enable System Extensions…" button and enter your login password when prompted.
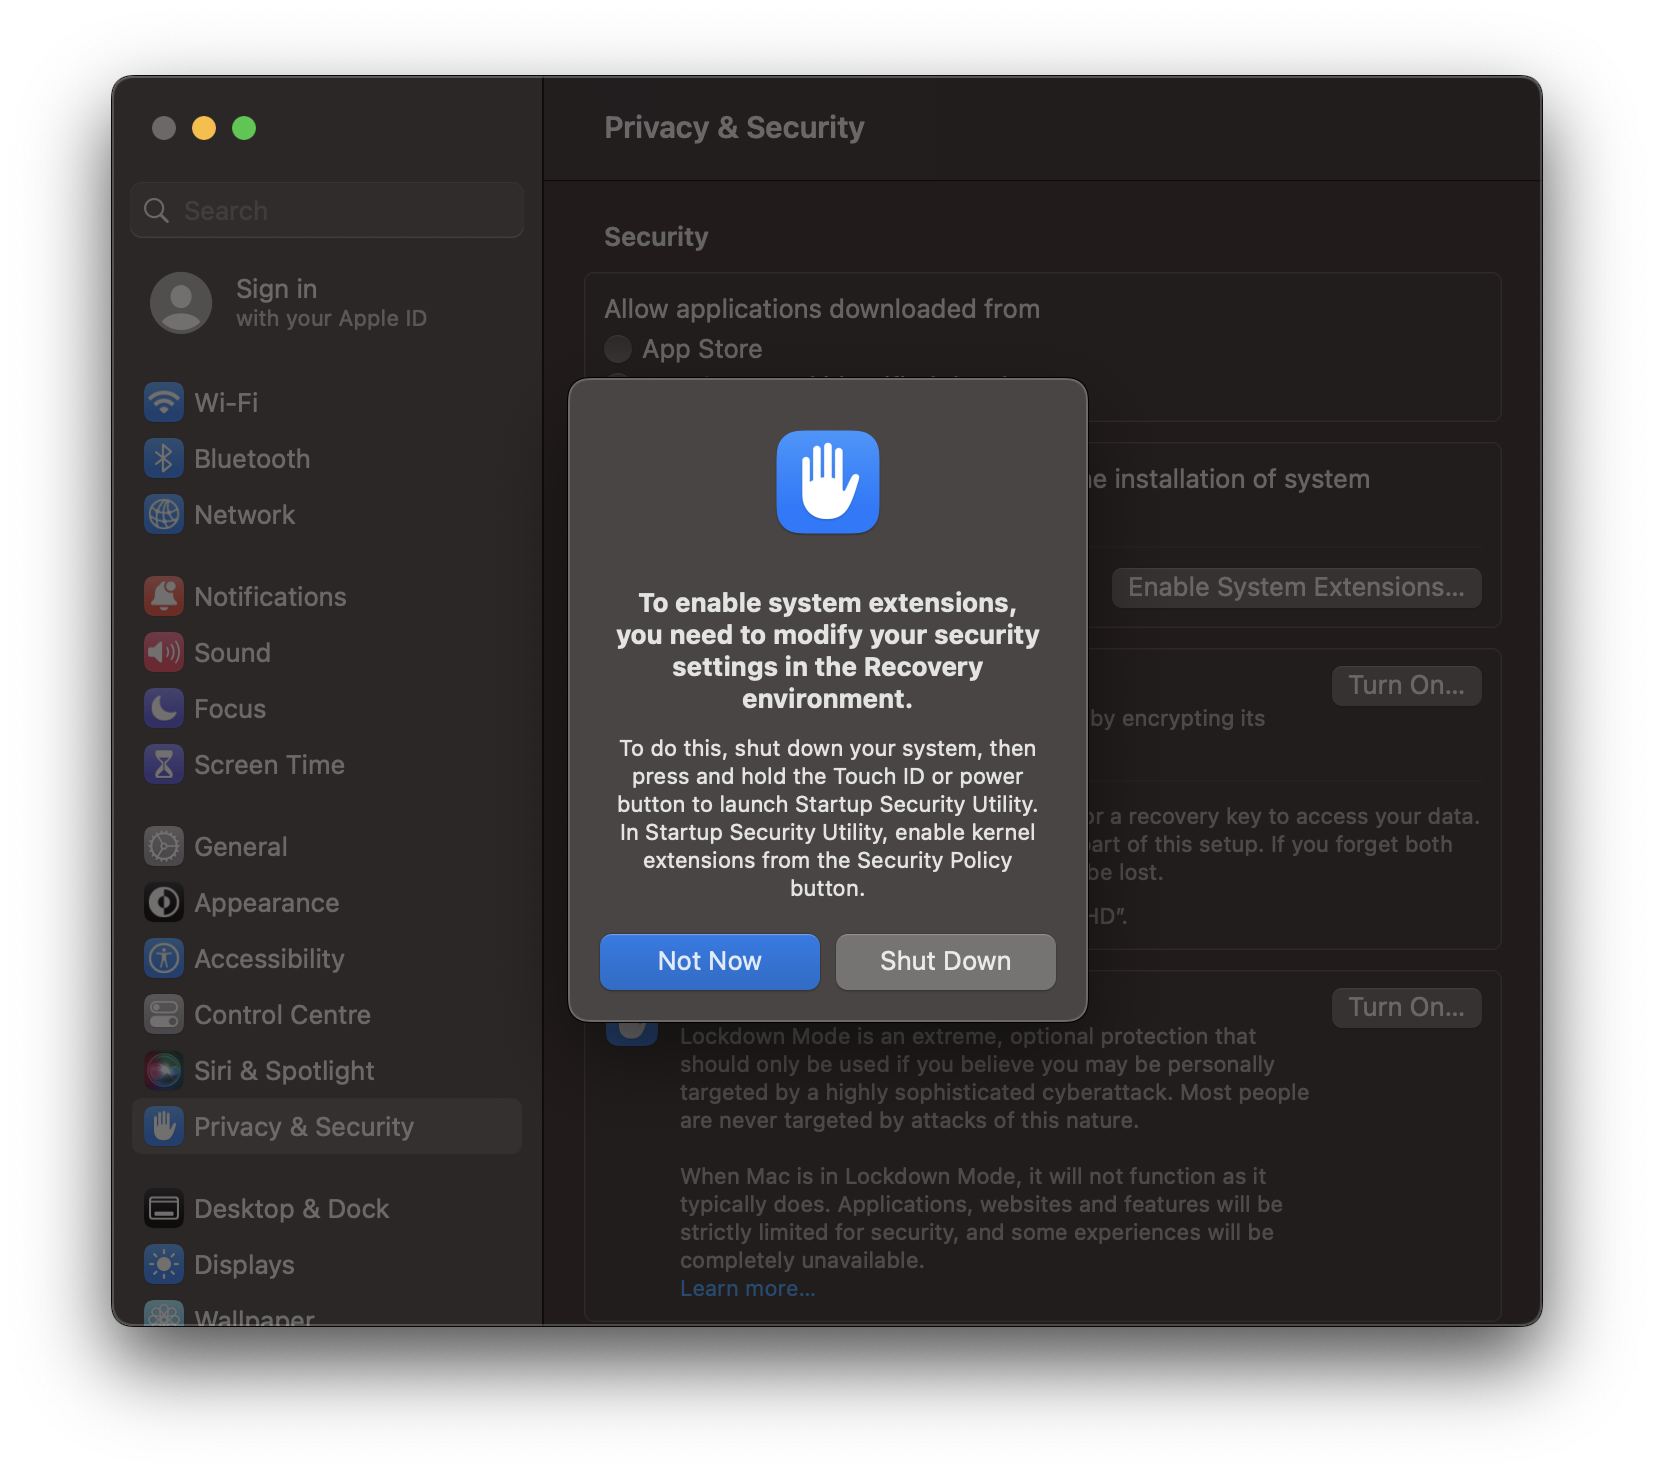
Click on "Shut Down". After your Mac has shut down, press and hold the Touch ID or power button of your Mac to start the Recovery environment and launch Startup Security Utility.
In case Startup Security Utility is not launched automatically, please see the Troubleshooting Guide below.
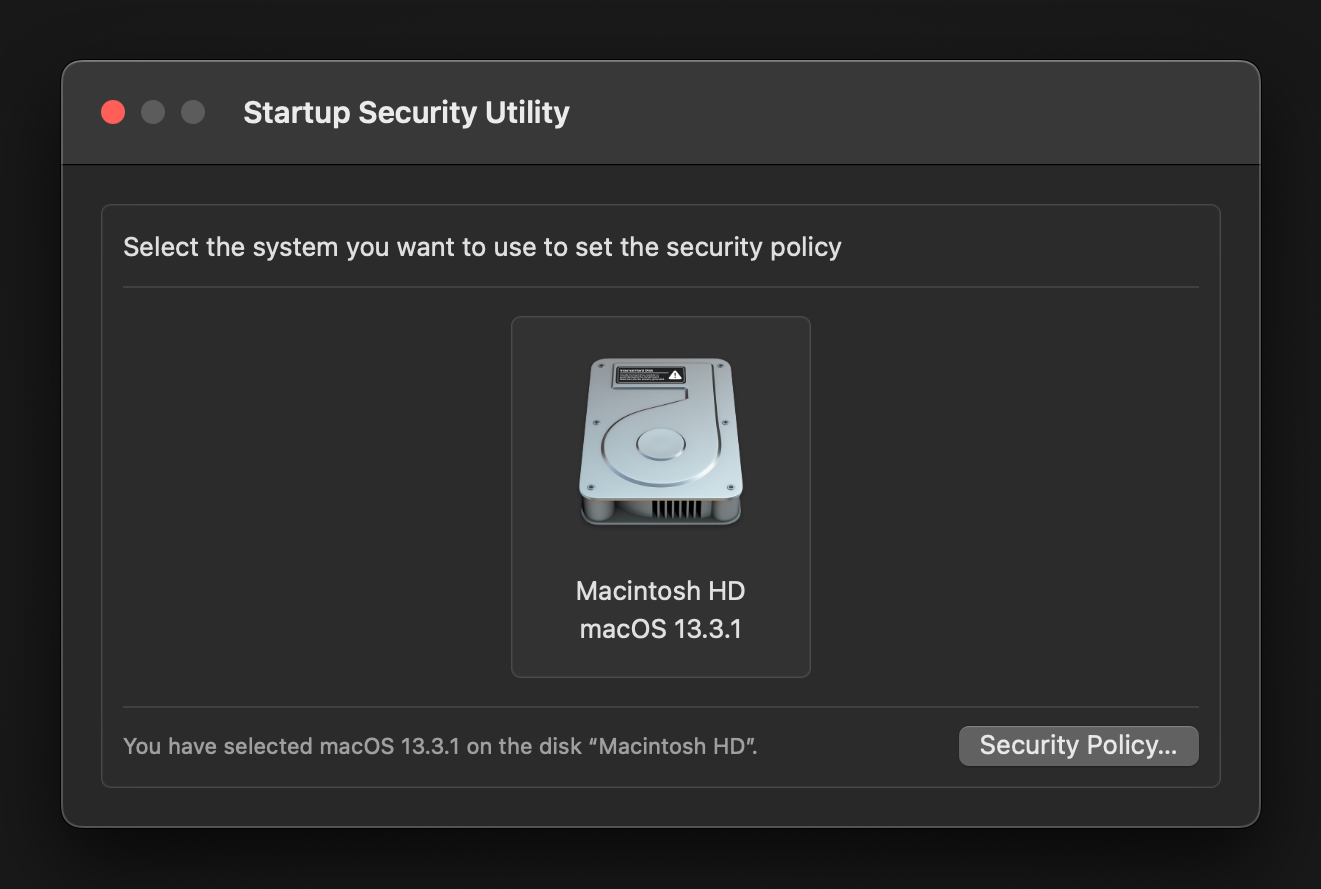
Select the macOS volume you want to update the security policies for. Usually there is only one volume. Then click on the "Security Policy…" button.

Select "Reduced Security" and enable "Allow user management of kernel extensions from identified developers". Then click on "OK", enter your login password when prompted and restart your Mac.
- Create tunnel:
ctunneldisc - Verify tunnel:
ltunneldisc - Test SSH:
discover(should connect without password) - Mount drive:
mountnobackup - Verify mount:
ls $HOME/Volumes/nobackup - Open VSCode and navigate to mounted folder
- Unmount:
unmountnobackup - Kill tunnel:
ktunneldisc