In this repository, I am going to guide the following things
You can download the Anaconda installer either using Terminal or manually from the website. Follow the steps to download it from Anaconda Distribution Page.
-
Go to the Anaconda Distribution Page and click
Download.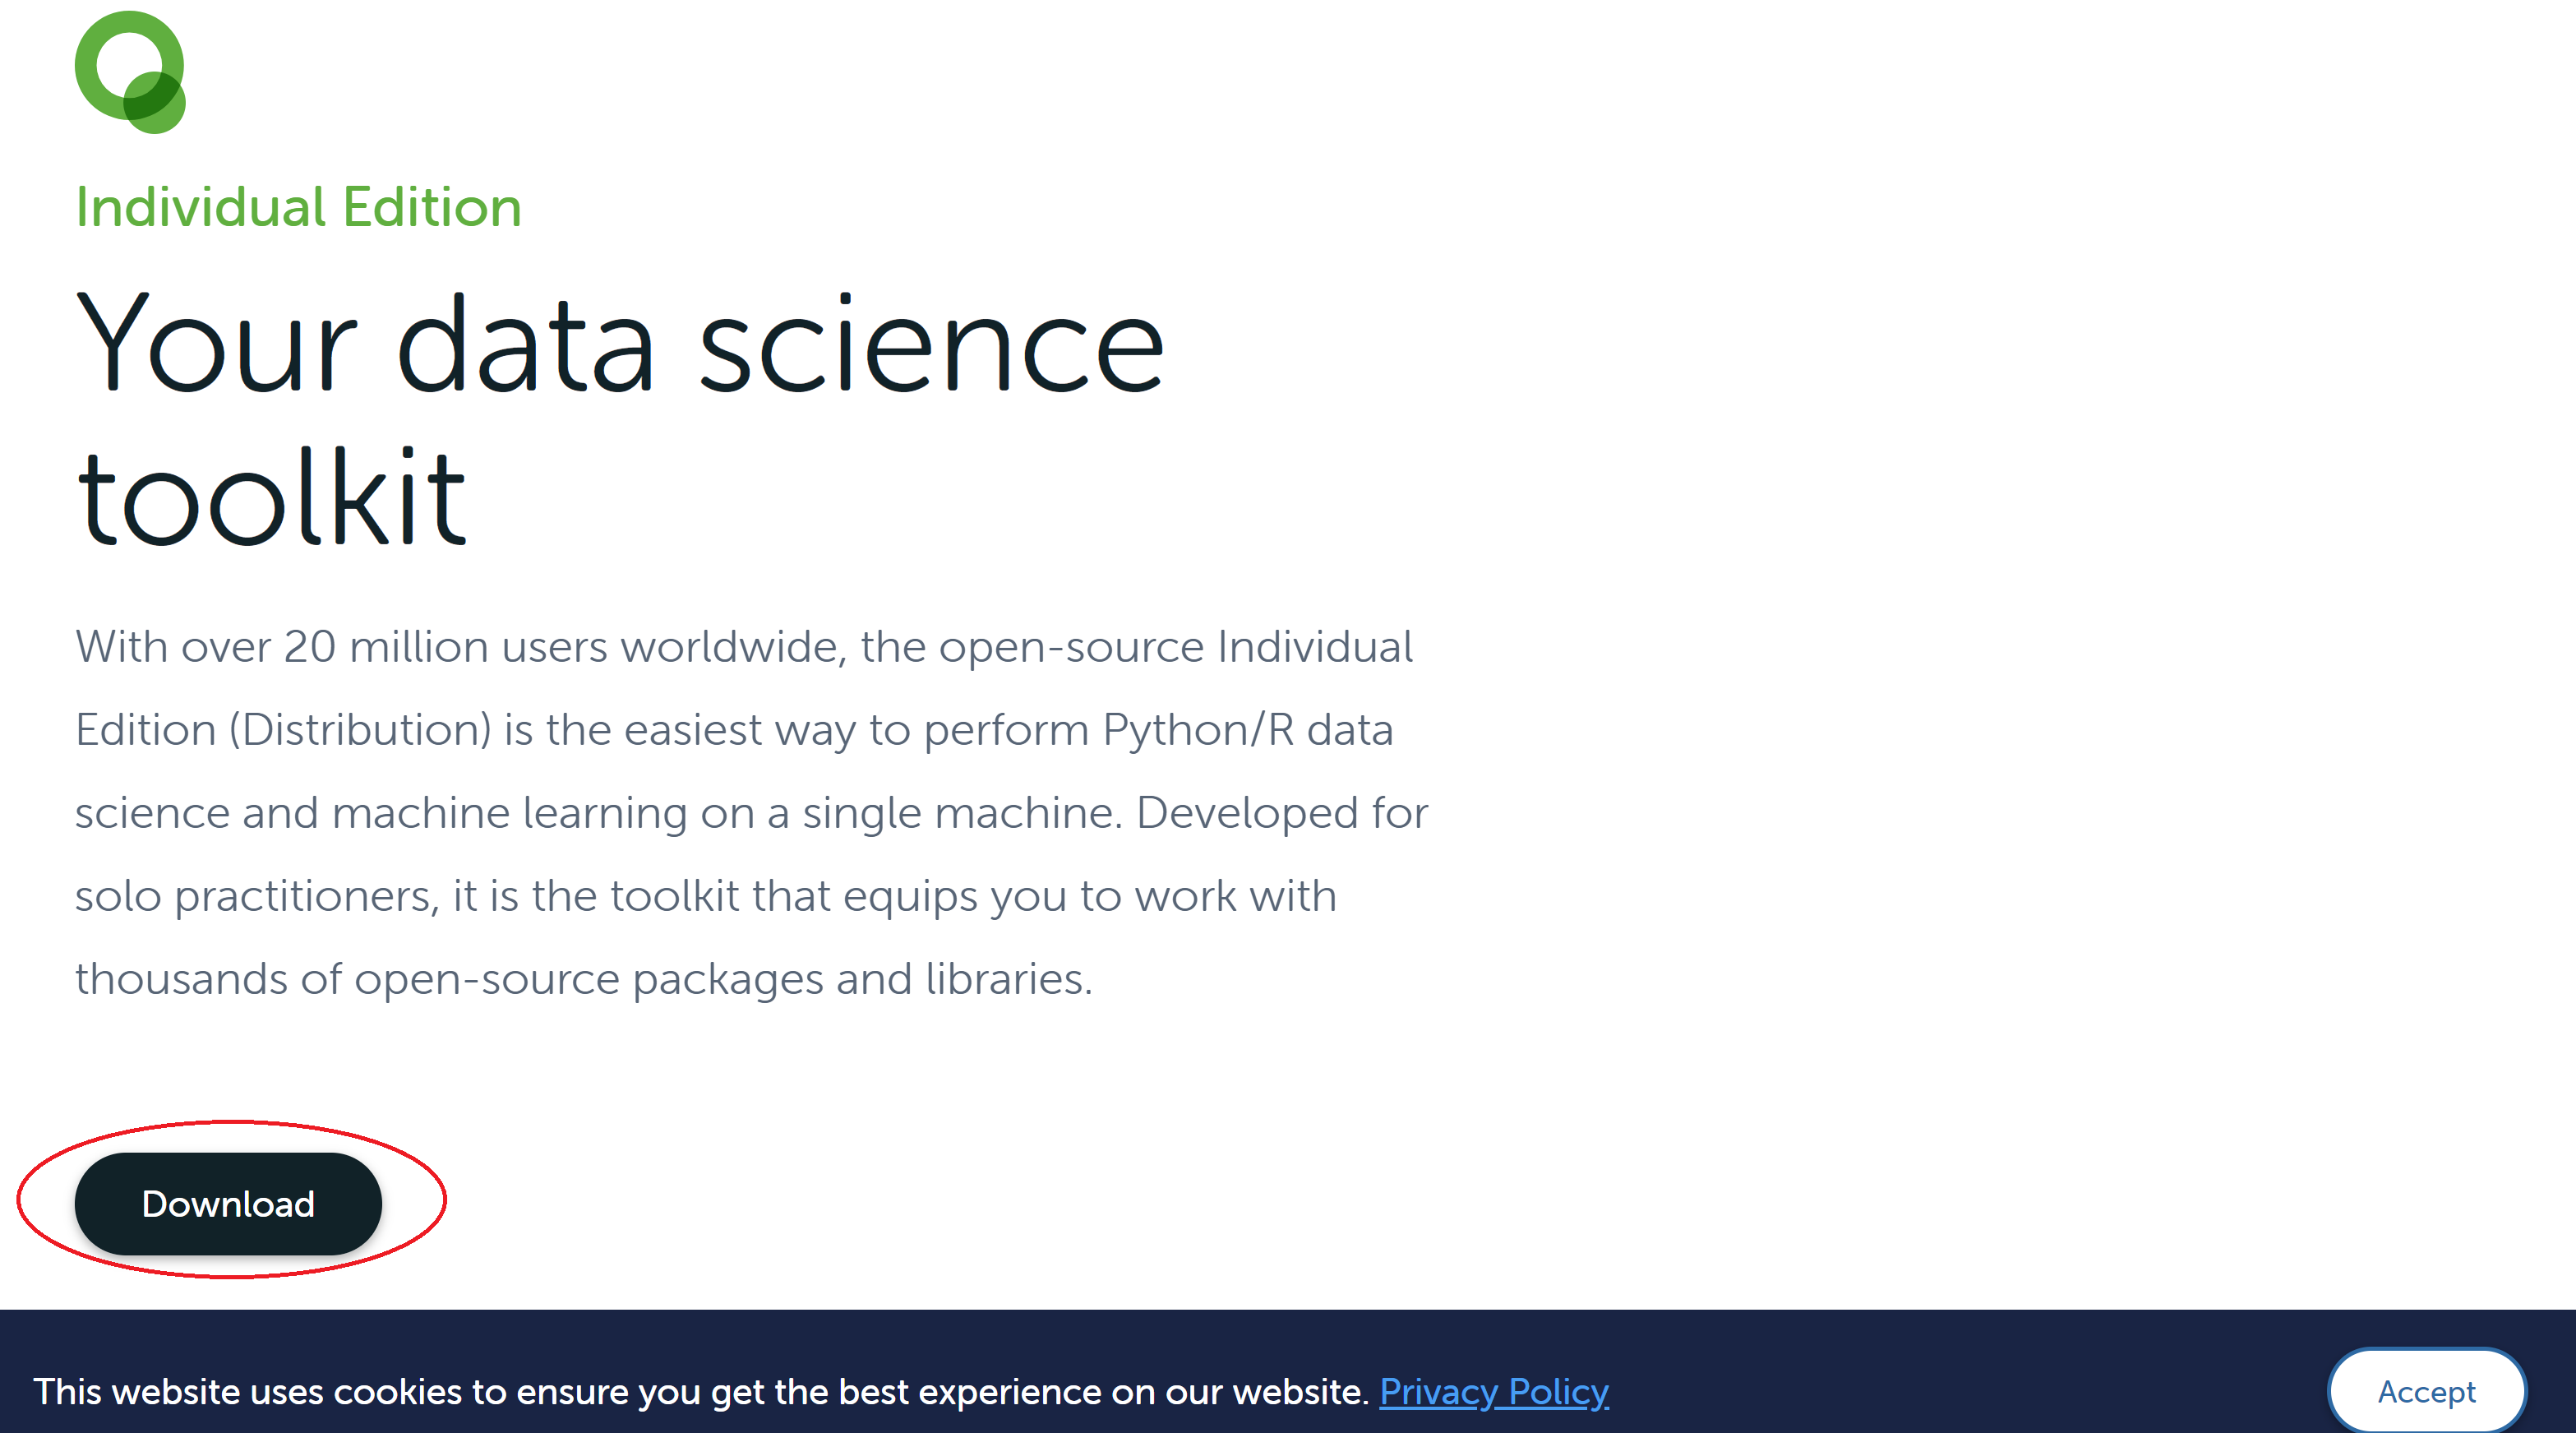
-
After clicking you will redirect to the page section where you can find various
Anaconda Installer. Now you can download theAnaconda Installerusing two approaches.- Mannual download:
Download specific installer by clicking the appropiate version based on your OS.

- Using Terminal:
Right click on the link of your specific version of the installer and copy the link. Then use terminal to download the installer
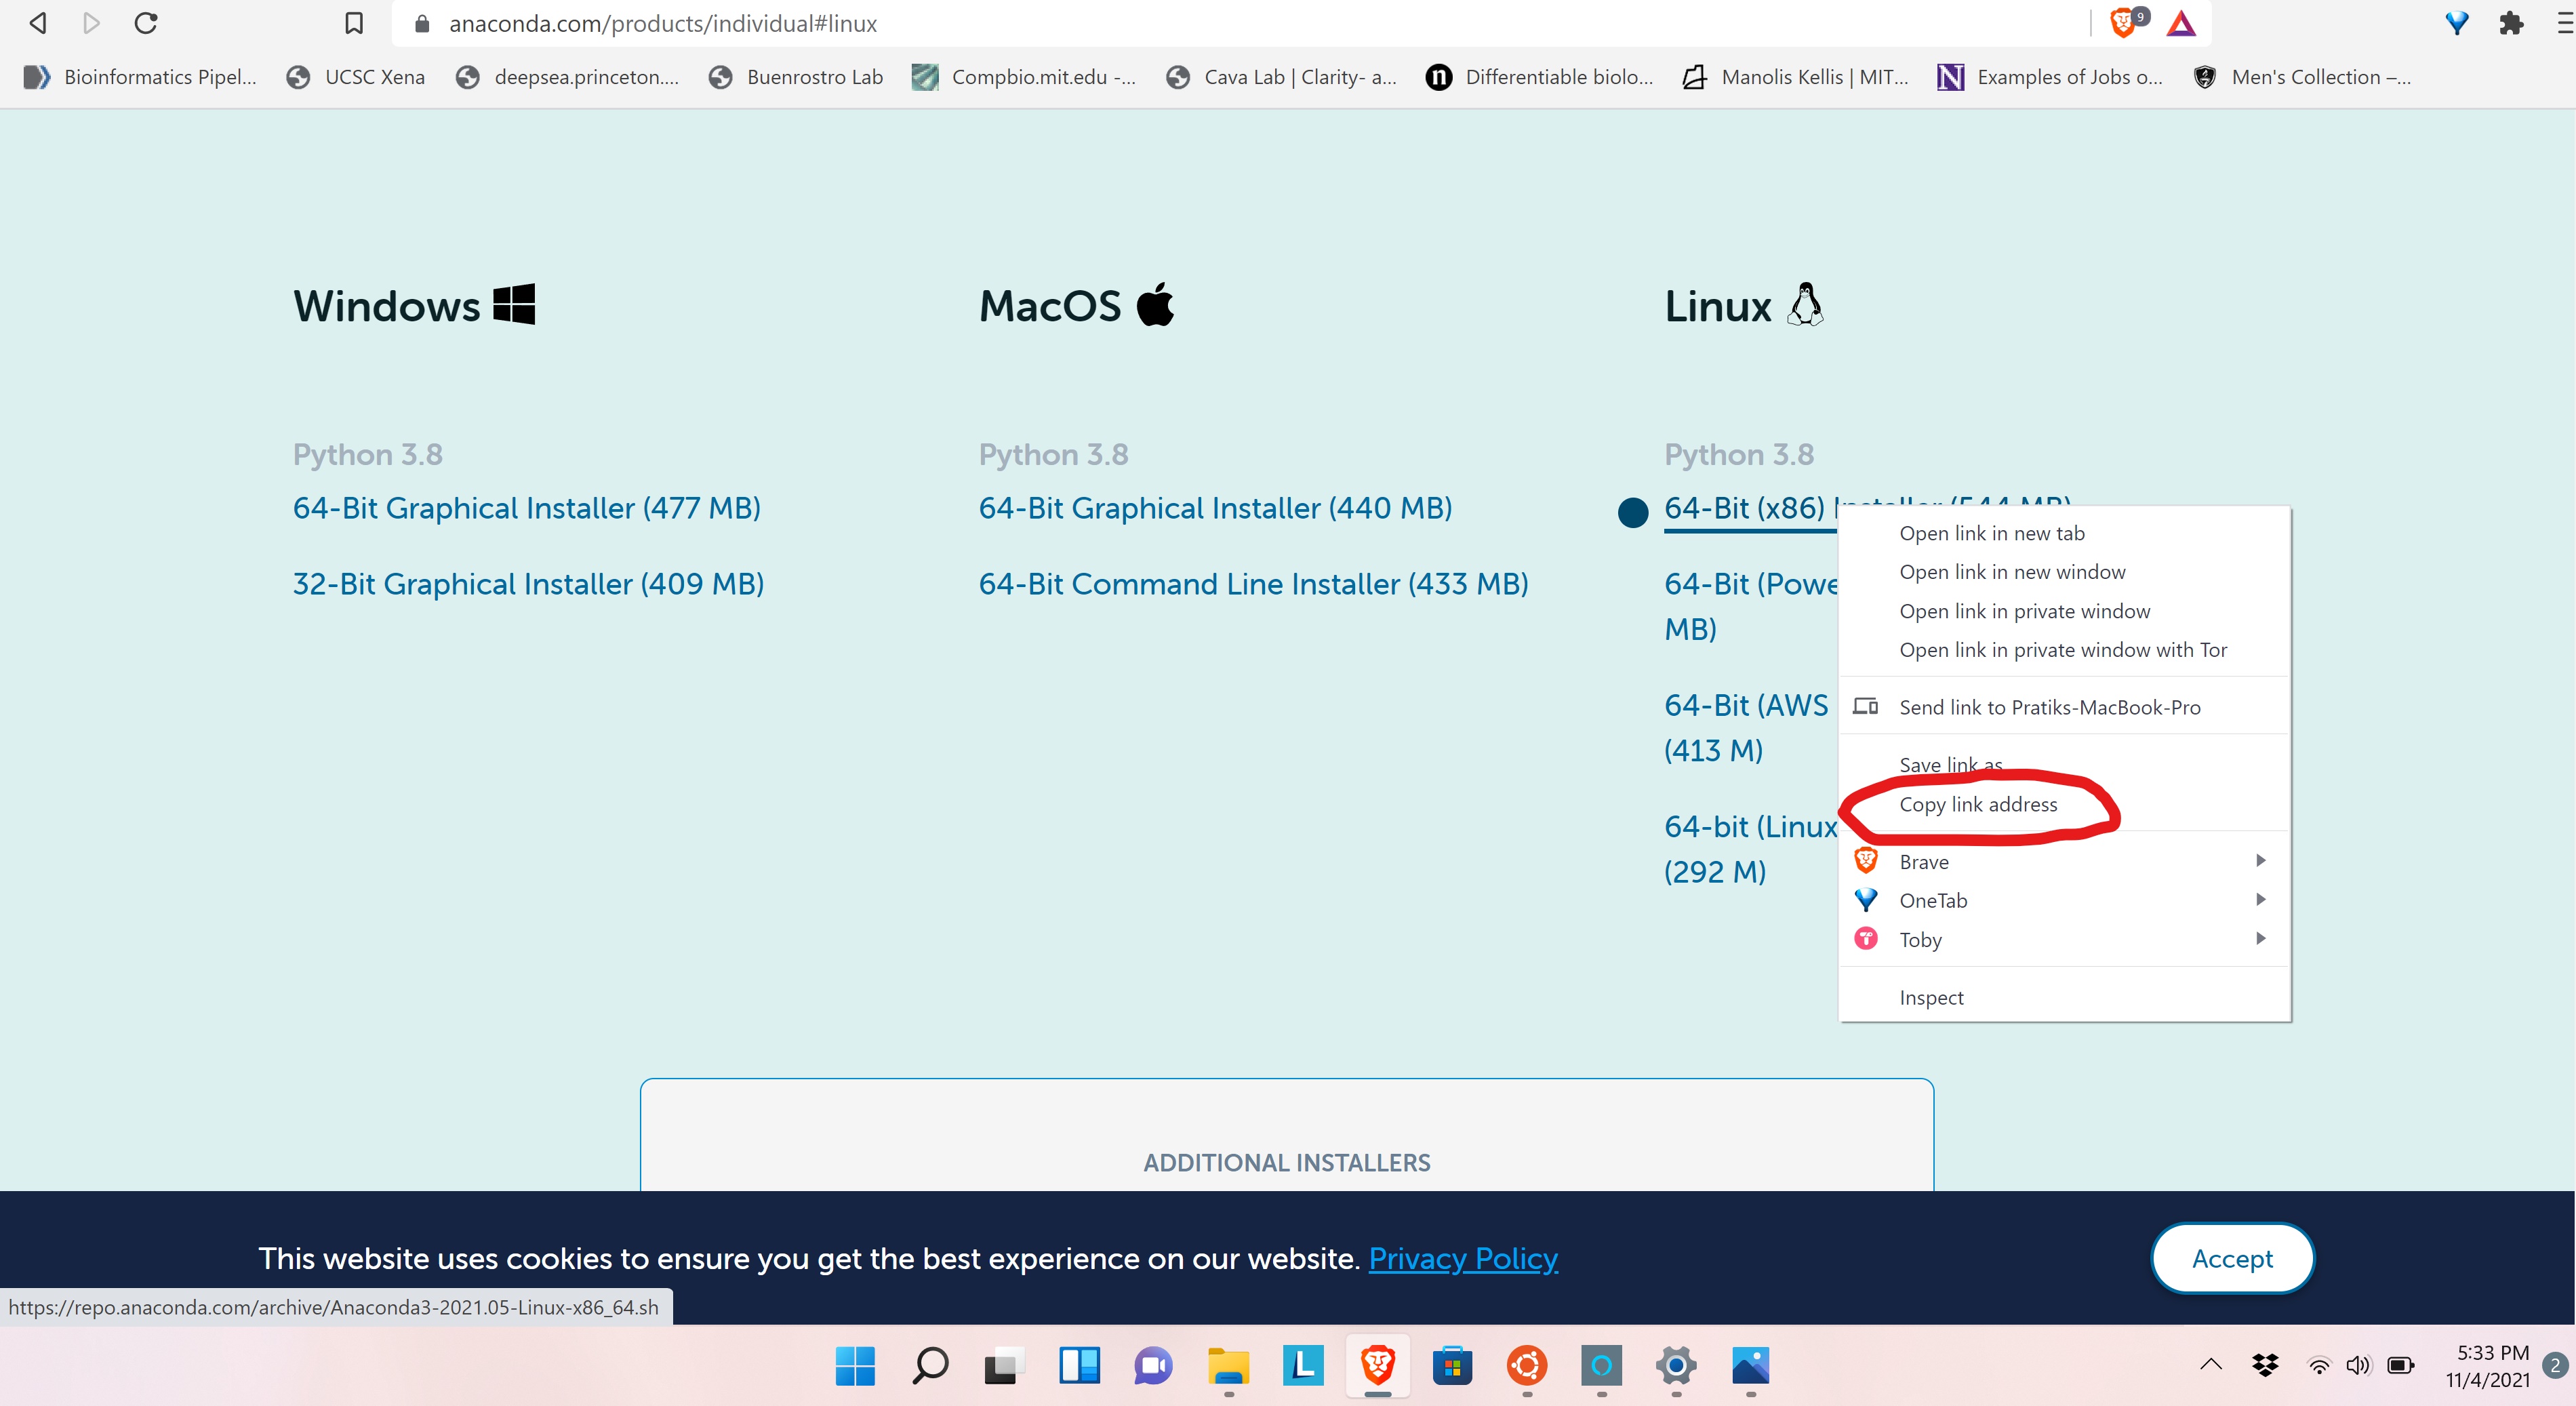
$ wget <link copied>
- Mannual download:
Download specific installer by clicking the appropiate version based on your OS.
-
Anaconda3-2020.07-Linux-x86_64will download.
After downloading the installer(Anaconda3-2020.07-Linux-x86_64), please make sure where it is located. I put the installer in Downloads folder. To install, do following steps
-
Open your
Terminaland go to the specific folder(in my case, the folderDownloads). Then use the following commandpratik@PRATIK-YOGA:~$ cd Downloads/ pratik@PRATIK-YOGA:~/Downloads$ bash Anaconda3-2020.07-Linux-x86_64
-
You will see the following output

-
Click
ENTERand finally it promptsyes or no. Enteryes. It will take a few minutes to install the anaconda in your system. -
The installer prompts
Do you wish the installer to initialize Anaconda3 by running conda init?Enter“yes”. -
To check if Anaconda install properly, close your terminal and then reopen it. Then type
pratik@PRATIK-YOGA:~$ conda listIt will show a list of packages install through Anaconda.
- If after reopening the terminal you are not getting the conda list, follow the instructions
- Open
.bashrcfile usingvi ~/.bashrc - Add the line
export PATH="/home/username/anaconda3/bin:$PATH"in the file - Then execute the command
source ~/.bashrc
- Open
The next step is to create conda environments. To know about the details of the conda environments, you can refer to its official documentation page. Few basic steps for using the conda environment are follows
Conda environment nothing but a virtual environment. You can customize the environment as per your requirements.
- Suppose, you want to create a conda environment named
first_env. Use the following command
pratik@PRATIK-YOGA:~$ conda create --name first_env- Most in the cases, we need specific version of
Python. Suppose, you need to installPython=3.7and the name of the environment issecond_env, use the following command** Note, your python version of the conda environment and your local machine can be different.pratik@PRATIK-YOGA:~$ conda create --n second_env python=3.7
-
You can have multiple
condaenvironments. To see all thecondaenvironments, use the following commandpratik@PRATIK-YOGA:~$ conda info --envsOutput will be
# conda environments:
#
base                  */home/pratik/anaconda3
first_env              /home/pratik/anaconda3/envs/first_env
second_env             /home/pratik/anaconda3/envs/second_env
-
To use any specific
condaenvironment, you need to activate it. Suppose, you need to activatesecond_envenvironmentpratik@PRATIK-YOGA:~$ conda activate second_envNow,
second_envenvironment is activated. You can understand from your terminal only.pratik@PRATIK-YOGA:~$will change to(second_env)pratik@PRATIK-YOGA:~$ -
Now you can run your code in this terminal. For your project, if you need to install any package, you can do that following way
- Install specific package: Suppose you need to install
tensorflowpackage in yourcondaenvironment
(second_env)pratik@PRATIK-YOGA:~$ conda install -c conda-forge tensorflow- Install specific package with specific version: Suppose you need to install
tensorflow 1.14version package in yourcondaenvironment
(second_env)pratik@PRATIK-YOGA:~$ conda install -c conda-forge tensorflow=1.14