Planning Phase
Now that you've started wiring up your matrices, you're probably eager to start making your own LED creations. Luckily, the Arduino community has made it very easy to work with LED matrices. First, though, we need to put down our ideas on pape- er, screen.
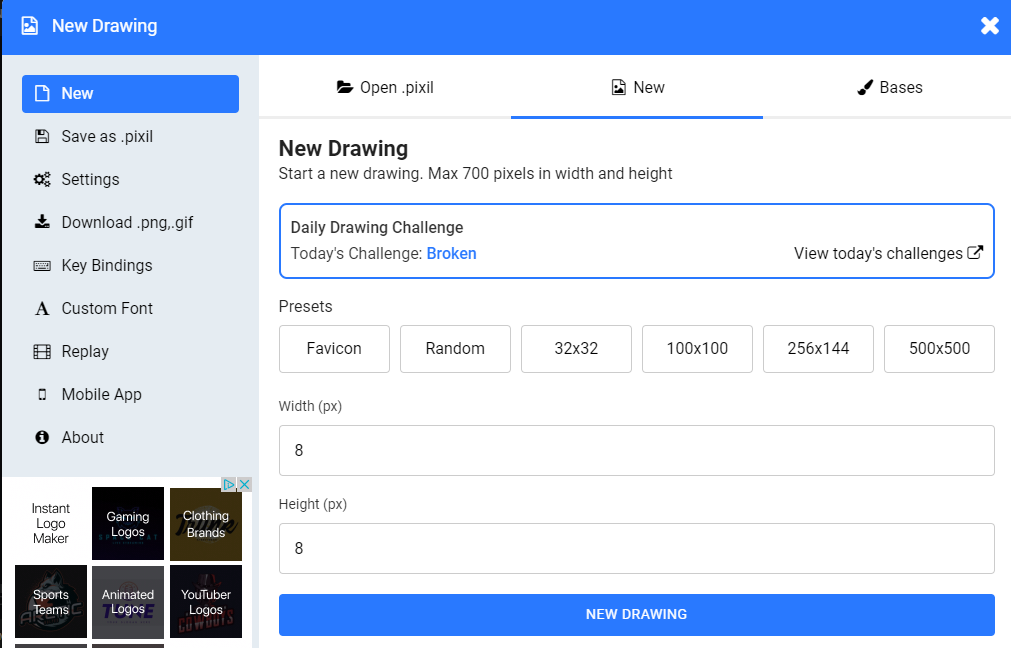
The best way I've found for designing matrix patterns is Pixilart. It lets you create, animate and export pixel art, and it's all free and online.
Let's start by designing the emblem on your cheeks. Hit the skip button up top (or follow the tutorial), then create a new 8x8 drawing.
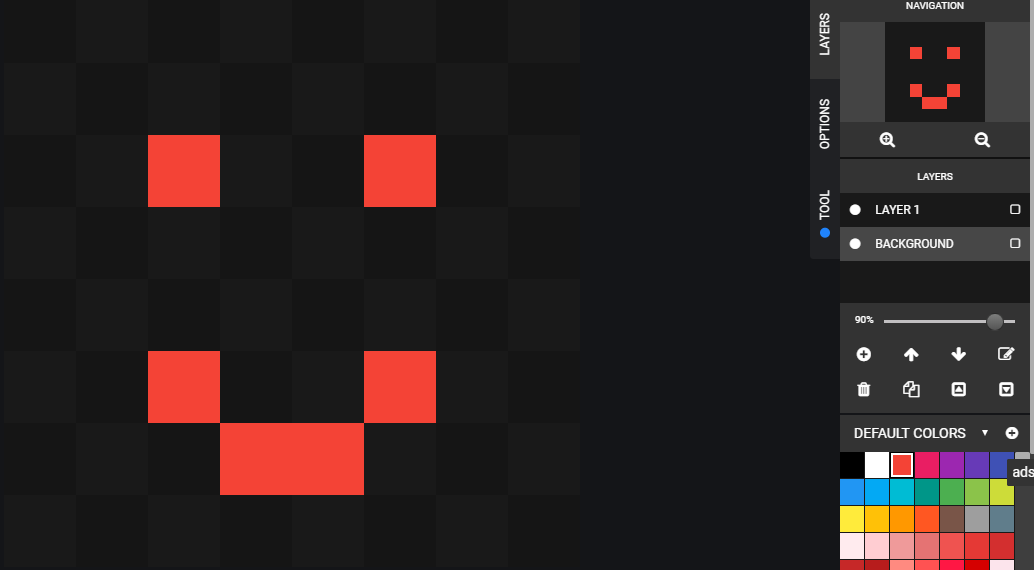
Draw out your emblem. I'd recommend creating a background layer that is black so you can see how it will look when the design is behind a dark shade. If your design is going to be animated, you can lock the frames panel and draw out each animation frame.
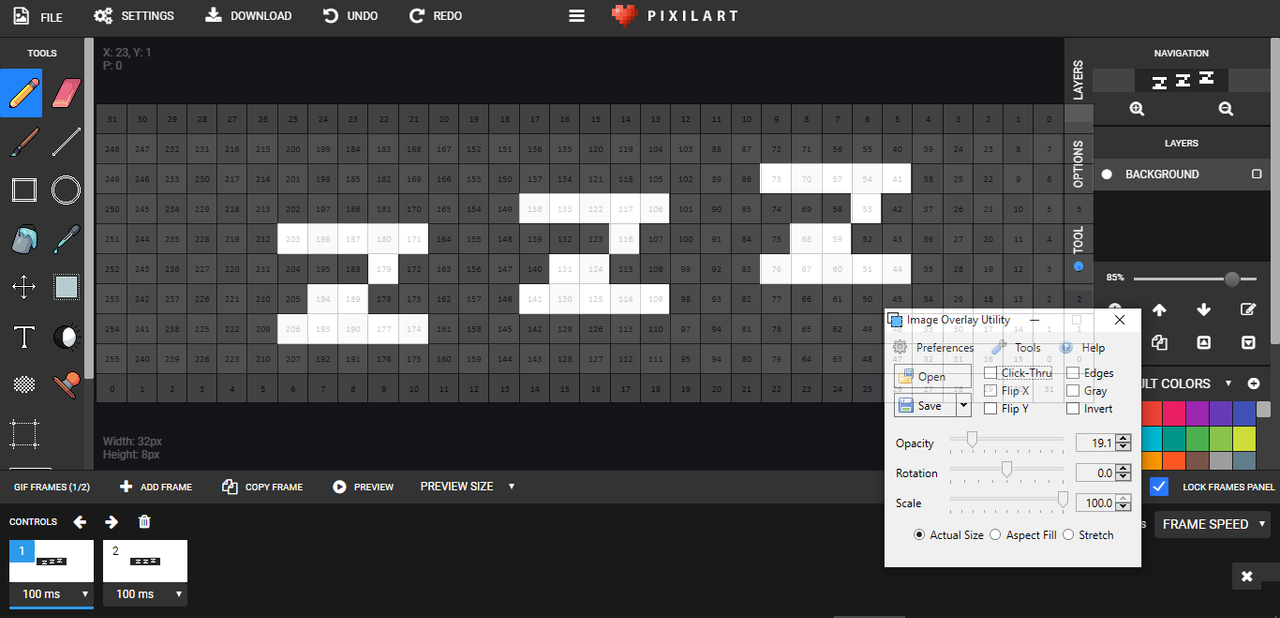
Of course, the same can be done for any size matrix, such as our 8x32 visor matrices.
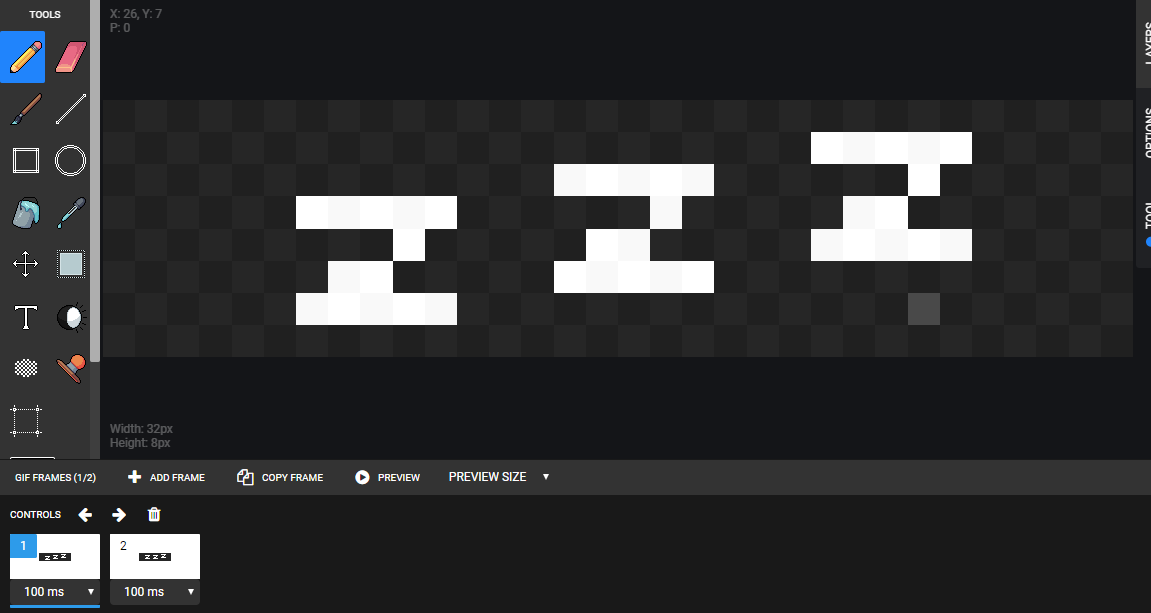
The best way to learn about this kind of software is to use it. It's fairly user-friendly. Make sure to download your frames, gifs and .pixil files once you've finished a drawing.
One last thing before we're finished. You're going to want to create a grid for your matrix, based on how it reacted in the blink.ino sketch. I've provided a sample 8x32 grid in matrix-design/grid.png, along with the Word file I created it from in case you need to modify it.

Take an image overlay program and overlay the grid on the screen, using "Actual Size" settings. Line up the grid with your design and take a screenshot of it like below. This will give you all the coordinates you need.
In the next few pages, we'll take a look at a few ways to draw these images onto our matrices.