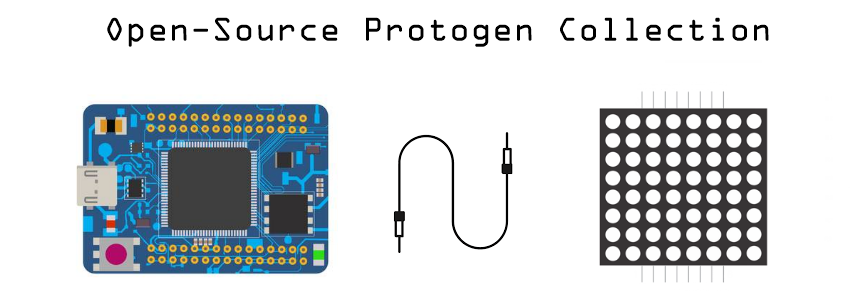
Reading Serial on Arduino
This last part will finish the Serial bridge between the Arduino and the Raspberry Pi on the software side.
Open up any sketch you want to implement emote switching in. We'll be starting with the ones provided in this repo to take a look at the implementation.
In our setup(), we open the Serial connection by using Serial.begin(9600). 9600 is the baud rate, which matches the 9600 we declared in our main.py.
In our loop(), we create an if statement to check if there's a character waiting in the buffer that we created from our Raspberry Pi. If there if one, we enter a switch statement. A switch statement is a fancy if statement that works much cleaner when multiple outcomes (emotes) are in play. For your testing, just take a moment to comment out the switch statement in its entirety using Ctrl + / and add the following code if it isn't there already:
    Serial.print("Got: ");
    Serial.println(patternToWrite); // just debug strings
Upload the program and open the Serial Monitor by clicking the icon in the top right.
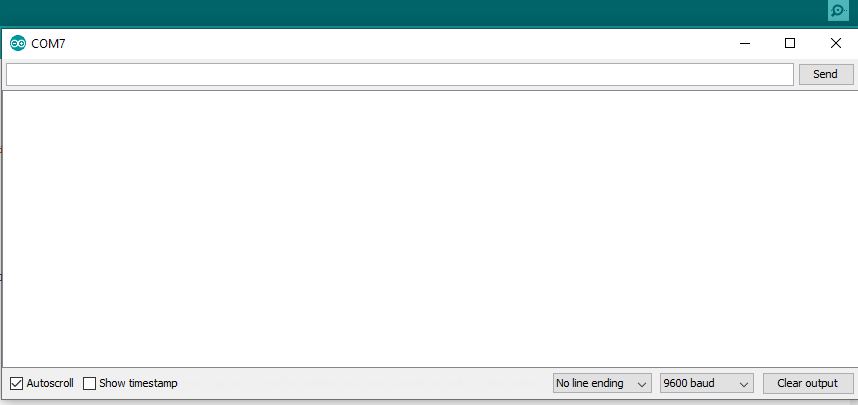
Turn off line endings and make sure the baud rate is at 9600, then just type a single key and press enter. For example, if I press the 1 key and hit enter, I get the output:
Got: 49
This is because 1 has an ASCII value of 49. Each character has its own value. So, all we have to do is add to the switch statement to create a case when it sees this value where it will draw the pattern we want.
if (Serial.available() > 0) { // if there's a character in the Serial buffer
    patternToWrite = Serial.read(); // get the character and store it
    Serial.print("Got: ");
    Serial.println(patternToWrite);
    switch (patternToWrite) {
      case 49: // your value goes here
        writeMyPattern(); // your pattern function goes here
		break;
	}
}
This can be done for as many characters as you want - but remember, it can only be one character. 0-9, A-Z and a-z all work fine here. You can then test it by writing in the Serial Monitor to see your different patterns created.