Your First Upload
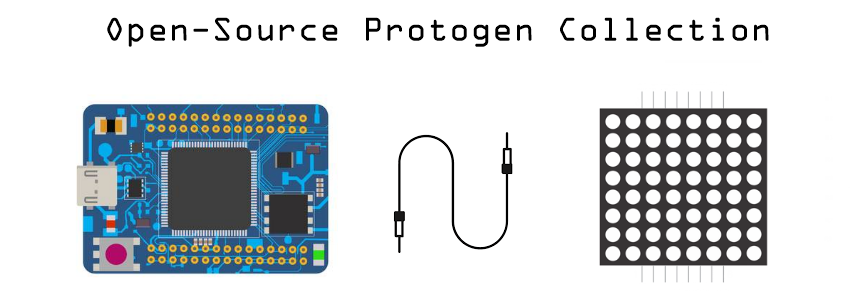
Your 8x8 matrix is wired, and now you want to see it come to life!
First, we'll install the software we need. Go install git for Windows, macOS (using brew) or Linux (through your package manager). Also install the Arduino IDE. If you bought one of the Arduino "knockoffs" that I recommended, you may need to install the CH340 driver so your computer will recognize the microcontroller. Drivers can be found on this page.
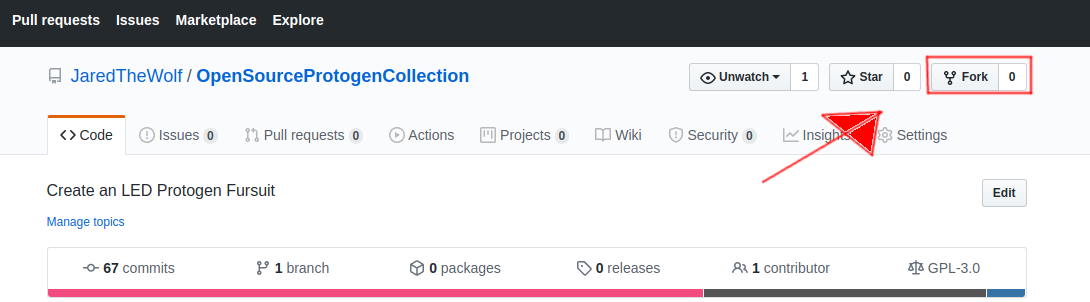
Now, we'll grab this repository's code. I really encourage anyone looking to use this code to reupload any of their changes so others can learn, so we're going to fork the repository. Go to the repo homepage while logged in (sign up, if you haven't) and click the fork button. Once it's forked, click Clone or Download and copy the URL.
Open up a command prompt on Windows or Terminal on macOS/Linux and run git clone followed by the URL you copied. It will download all the files.
Let's plug your microcontroller into the computer and launch the Arduino IDE.
Once it's launched, the first thing you want to do is head into Tools and select your board. Next, head to Tools > Port and select your port. Don't know which port? Easy - unplug your microcontroller, close the menu, and reopen it. Whichever port disappeared is the one you want to select.


Head up into Tools > Manage Libraries and search for and install the FastLED library. This library does a lot of the heavy lifting in our code.
Now, head over to this GitHub repo as well as this one. On each of them, click "Clone or download" and then "Download ZIP". Once they're downloaded, open up the ZIP files and extract the CONTENTS of the folder inside to your IDE's libraries folder, usually found at {your-user-directory}\Documents\Arduino\libraries on Windows.
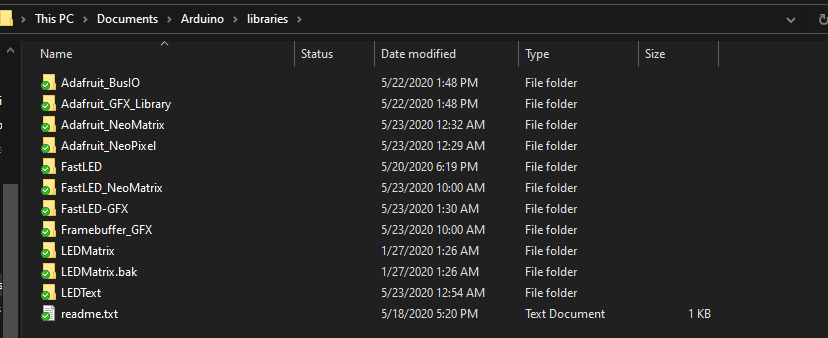
Your paths should look like Arduino\libraries\LEDMatrix and Arduino\libraries\LEDText.
Open up your cloned folder from earlier and navigate to arduino/blink and open the blink.ino file.

Find the line that says #define NUM_LEDS 256 and change 256 to 64 (because that's how many LEDs are on your 8x8 board!), then hit the Upload icon. Once it's uploaded, you should see every LED light up, one after another. Take note of the path it traces, because we'll be using it really soon!

If your code DIDN'T upload and you hit an error, don't fret. Hit that "copy error message" button and create an Issue or message me on Telegram.
Alright. Ready for the next bit? See you on the next page!